
Fluke 789 User Manual: A Comprehensive Guide
This manual, alongside the CD-ROM and calibration supplements (like Part Number 1988891, Issue 6), provides essential information for operating and maintaining the Fluke 789 ProcessMeter effectively.
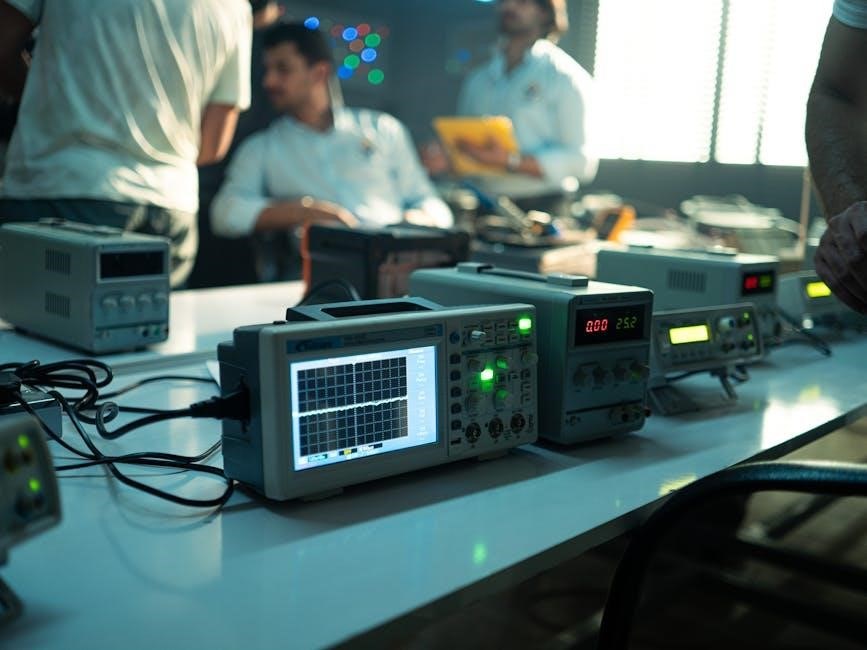
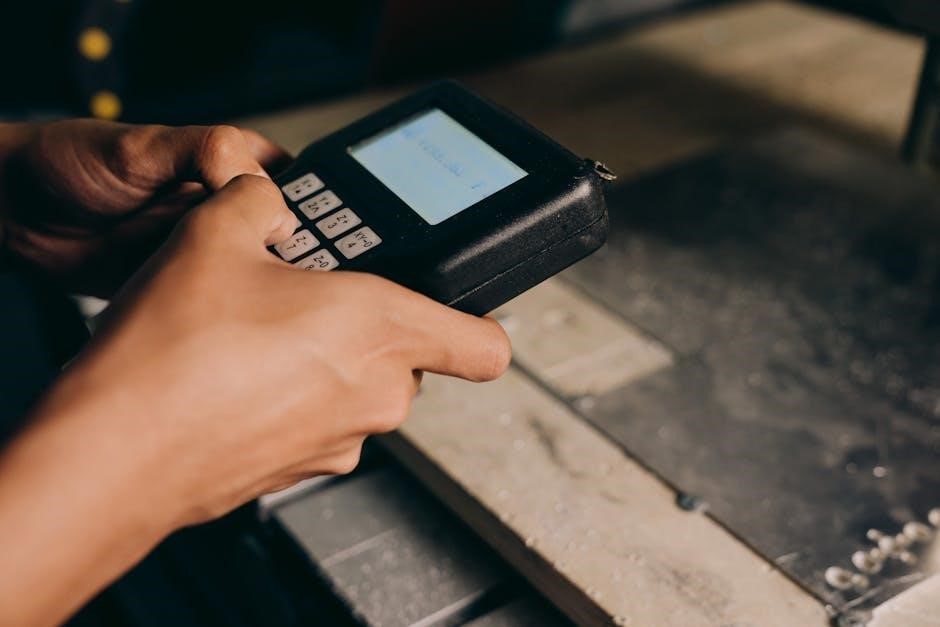
The Fluke 789 ProcessMeter is a precision tool designed for troubleshooting, maintaining, and calibrating a wide range of industrial processes. This versatile instrument combines the functionality of multiple test tools into a single, handheld device, streamlining workflows and enhancing efficiency.
As detailed in various manuals – including the September 2002, Rev. 2 calibration manual – the 789 is capable of measuring DC and AC voltage and current, resistance, and continuity. Beyond basic measurements, it offers advanced features like loop power testing and HART communication, crucial for modern process control systems.

Users benefit from accessing resources like www.fluke.com for product registration and additional information. The 789/787B ProcessMeter’s capabilities are fully explained within the comprehensive user documentation, often provided on CD-ROM with the product, ensuring optimal performance and accurate results.
Key Features and Benefits
The Fluke 789 ProcessMeter boasts a robust set of features designed to simplify complex industrial tasks. Key among these is its ability to measure various electrical parameters – DC/AC voltage and current, resistance, and continuity – all within a single, portable instrument.
Furthermore, the 789 excels in advanced process control environments, offering loop power measurement capabilities and HART communication functionality. These features are thoroughly documented in the calibration manual (September 2002, Rev. 2) and supplementary materials (Issue 6, Part Number 1988891).
Benefits include increased efficiency, reduced downtime, and improved accuracy in troubleshooting and calibration. Accessing www.fluke.com provides users with registration options and further support. The CD-ROM included with the product delivers a complete user experience, maximizing the instrument’s potential.
Understanding the Display
The Fluke 789 ProcessMeter’s display is designed for clear and concise presentation of measurement data. It simultaneously shows the primary reading, the unit of measurement (mV, V, A, mA), and relevant status indicators. The display’s layout facilitates quick interpretation of results, crucial for efficient troubleshooting and calibration.
Key display elements include range indicators, allowing users to verify the selected measurement range. The display also provides visual cues for various operating modes, such as loop power measurement and HART communication. Referencing the 789/787B ProcessMeter Users Manual (provided on CD-ROM) is essential for a complete understanding.
Understanding the display’s symbols and indicators, as detailed in the calibration manual (September 2002, Rev. 2), ensures accurate readings and optimal instrument utilization. www.fluke.com offers additional resources and support for interpreting display information.
Getting Started with Your Fluke 789
Begin by inspecting the contents after unboxing. Ensure all components are present and undamaged, referencing the user manual (on CD-ROM) for guidance.
Unboxing and Initial Inspection
Upon receiving your Fluke 789 ProcessMeter, carefully inspect the packaging for any signs of damage during shipment. Once opened, verify that all listed components are included. These typically encompass the 789 ProcessMeter unit itself, test leads, alligator clips, and essential documentation.
Crucially, the CD-ROM containing the comprehensive user manual is a vital part of the package. Confirm its presence, as it provides detailed instructions for operation, calibration, and troubleshooting. Also, check for any included accessories like a carrying case or specialized probes.
Thoroughly examine the meter for any visible defects, such as cracks or loose connections. Ensure the display is clear and functional. If any discrepancies or damage are detected, immediately contact Fluke support or your point of purchase. Retain all packaging materials for potential return or warranty claims. A complete initial inspection ensures a smooth and reliable start with your new Fluke 789.
Battery Installation and Power-Up
The Fluke 789 ProcessMeter requires batteries for operation. Access the battery compartment, typically located on the rear of the unit, by following the instructions detailed in the user manual (provided on CD-ROM). Ensure you use the correct battery type as specified in the documentation to avoid damage or inaccurate readings.
Carefully install the batteries, observing the correct polarity (+ and -) indicated within the compartment. A secure fit is essential for reliable power. Once the batteries are in place, close the battery compartment securely.
To power up the meter, press the power button. The display should illuminate, indicating successful power-up. If the display does not activate, double-check the battery installation and consider replacing the batteries with a fresh set. Refer to the troubleshooting section of the manual if issues persist. Proper battery installation is crucial for optimal performance.
Basic Operation: Measurements
The Fluke 789 ProcessMeter is designed for versatile measurements within industrial environments. Begin by selecting the desired measurement function – DC Voltage, AC Voltage, DC Current, AC Current, Resistance, or Continuity – using the front panel controls. Consult the user manual (provided on CD-ROM) for detailed instructions on function selection.
Connect the test leads to the appropriate terminals on the meter and to the circuit under test. Ensure secure connections for accurate readings. The display will show the measured value, along with the selected unit of measurement. Utilize the range buttons to adjust the display range for optimal resolution.
Always refer to the safety information within the manual before making any measurements. Understanding the limitations and proper usage of the meter is vital for safe and reliable operation. Remember to register your product at www.fluke.com for support and updates.

Measurement Functions
The Fluke 789 offers diverse measurement capabilities, including DC/AC Voltage and Current, Resistance, Continuity, Loop Power, and Frequency, as detailed in the comprehensive user manual.
DC Voltage Measurement
To measure DC Voltage with the Fluke 789 ProcessMeter, begin by connecting the test leads appropriately – black to COM and red to the V (Voltage) terminal. Ensure the meter is set to the DC Voltage (V DC) function using the selector dial.
Apply the test leads across the circuit or component under test. The 789 will display the DC voltage reading on the screen. Pay attention to the range selection; auto-ranging is available, but manual range selection can provide increased precision.
The manual emphasizes the importance of understanding the input impedance of the meter, which can affect measurements in high-impedance circuits. Refer to the Fluke 789 User Manual (provided on CD-ROM) for detailed specifications and troubleshooting tips related to DC Voltage measurements. Always prioritize safety and disconnect power before making connections whenever possible.
Remember to consult the manual for information on resolution and accuracy specifications for different voltage ranges.
AC Voltage Measurement
Measuring AC Voltage with the Fluke 789 ProcessMeter requires connecting the black test lead to COM and the red lead to the V terminal. Select the AC Voltage (V AC) function on the rotary dial. Apply the test leads across the AC circuit or component being tested.
The 789 will display the AC voltage reading. As with DC voltage, the meter offers both auto-ranging and manual range selection. Manual ranging can be beneficial for achieving higher accuracy in specific applications. Be mindful of the voltage range selected to ensure optimal resolution.
The Fluke 789 User Manual (available on the CD-ROM) details the meter’s input impedance and frequency response characteristics, crucial for accurate AC voltage measurements. Always prioritize safety and disconnect power before connecting or disconnecting test leads.
Refer to the manual for detailed specifications regarding accuracy and resolution for various AC voltage ranges.
DC Current Measurement
Measuring DC Current with the Fluke 789 ProcessMeter necessitates a different connection approach than voltage measurements. First, ensure the circuit is broken to allow current to flow through the meter. Connect the black test lead to COM and the red lead to the A terminal. Select the DC Current (A DC) function using the rotary dial.
The 789 offers various DC current ranges; auto-ranging simplifies the process, but manual selection provides greater control. Be aware of the maximum current rating for the selected input terminal to avoid damaging the meter. The Fluke 789 manual (provided on CD-ROM) details these limits.
Always consult the Safety Information before making current measurements, as incorrect connections can lead to hazardous situations. The meter displays the DC current value, and proper lead placement is critical for accurate readings.
Remember to restore the circuit once the measurement is complete.
AC Current Measurement
Measuring AC Current with the Fluke 789 ProcessMeter requires similar connection procedures as DC current, but with the function selector set to AC Current (A AC). Again, break the circuit to allow current to flow through the meter. Connect the black test lead to COM and the red lead to the A terminal.
The 789 offers multiple AC current ranges, and auto-ranging is available for convenience. However, manual range selection can be beneficial for optimizing accuracy. Always verify the current rating of the selected input terminal to prevent potential damage to the instrument. Refer to the Fluke 789 user manual (found on the accompanying CD-ROM) for detailed specifications.
Prioritize safety by reviewing the Safety Information before commencing any AC current measurement. Incorrect connections can pose a significant hazard. The meter will display the AC current value, and proper lead placement is essential for reliable results.
Ensure the circuit is reconnected after the measurement is finished.
Resistance Measurement
Resistance measurement with the Fluke 789 ProcessMeter requires that the circuit or component being tested is de-energized. This is crucial for accurate readings and to prevent damage to the meter. Connect the black test lead to the COM terminal and the red test lead to the VΩ terminal.
Select the resistance measurement function (Ω) on the rotary dial. The 789 offers various resistance ranges, and auto-ranging simplifies the process. For precise measurements, especially with low resistances, consider using the relative mode to null out lead resistance. Consult the Fluke 789 user manual (provided on CD-ROM) for detailed specifications and troubleshooting tips.
Always ensure the component is isolated before measuring resistance. Readings can be affected by parallel circuits. The meter displays the resistance value in Ohms (Ω), Kilohms (kΩ), or Megohms (MΩ).
Remember to disconnect the test leads after the measurement is complete.
Continuity Testing
Continuity testing with the Fluke 789 ProcessMeter verifies if a complete electrical path exists between two points. This is vital for troubleshooting wiring, switches, and connections. Ensure the circuit is de-energized before performing a continuity test. Connect the black test lead to the COM terminal and the red test lead to the VΩ terminal.
Select the continuity function (often indicated by a diode symbol or audible beep) on the rotary dial. When continuity exists, the meter will emit an audible tone and display a low resistance value, typically close to 0 Ohms. If the circuit is open, no tone will sound, and the display will show “OL” (Over Limit).
Refer to the Fluke 789 user manual (available on CD-ROM or at www.fluke.com) for specific details and safety precautions. Remember that continuity testing only confirms the presence of a conductive path, not the signal integrity.
Always disconnect the test leads after completing the test.

Advanced Features
The Fluke 789 offers Loop Power measurement, HART communication capabilities, precise Frequency readings, and a versatile Diode Test function for complex diagnostics.
Loop Power Measurement
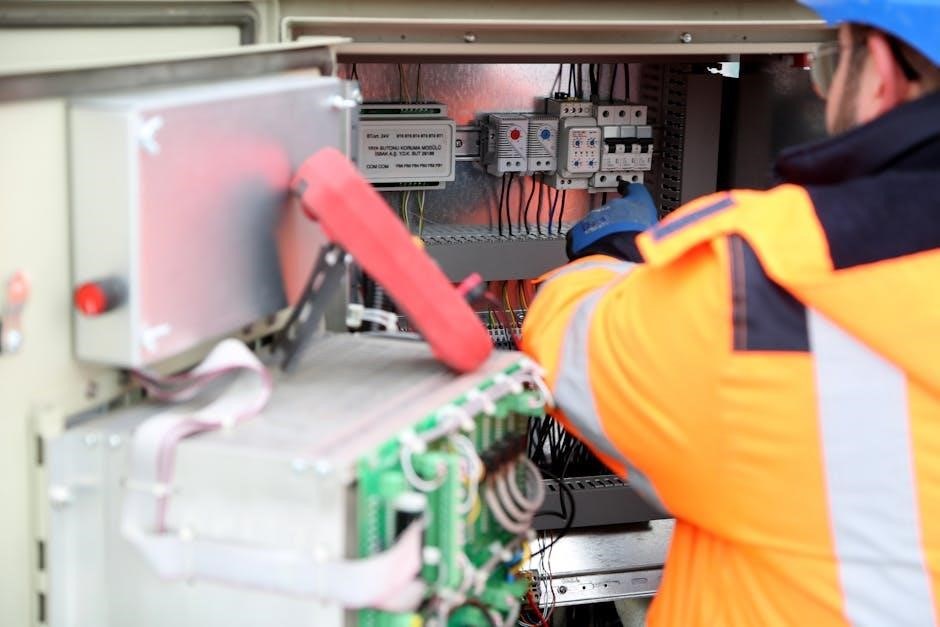
The Fluke 789 excels in Loop Power measurement, a critical function for troubleshooting and maintaining 4-20 mA current loop circuits. This feature allows technicians to directly measure the power supplied to a transmitter without physically breaking the loop, minimizing downtime and ensuring process integrity.
By accurately determining the voltage and current within the loop, the 789 calculates the power consumption of the transmitter. This is invaluable for verifying power budgets, identifying potential power supply issues, and diagnosing signal problems. The display clearly presents the loop power in milliwatts (mW), providing a straightforward reading for quick assessment.
Furthermore, the ProcessMeter’s loop power measurement capability aids in confirming proper wiring and component functionality. It helps to pinpoint whether a transmitter is drawing excessive current or experiencing insufficient power, leading to inaccurate readings or complete failure. This proactive approach to maintenance significantly reduces the risk of unexpected process interruptions and enhances overall system reliability. Refer to the User’s Manual (provided on CD-ROM) for detailed instructions and safety precautions.
HART Communication
The Fluke 789 supports HART (Highway Addressable Remote Transducer) communication, enabling advanced diagnostics and configuration of smart field devices. This capability allows technicians to interact with instruments without disrupting the 4-20 mA analog signal, crucial for maintaining continuous process monitoring.
Through HART, the 789 can access detailed device information, including tag names, manufacturing data, and calibration parameters. It facilitates remote configuration of device settings, such as range adjustments and damping values, streamlining maintenance procedures and reducing the need for manual adjustments.
The ProcessMeter’s HART functionality also enables the retrieval of diagnostic data, such as self-test results and alarm history, providing valuable insights into device health and performance. This proactive approach to monitoring helps identify potential issues before they escalate, minimizing downtime and improving process reliability. Remember to consult the User’s Manual (available on CD-ROM) for specific HART command details and compatibility information.
Frequency Measurement
The Fluke 789 offers precise frequency measurement capabilities, extending its utility beyond standard process signal analysis. This function allows technicians to accurately determine the frequency of various electrical signals encountered in industrial environments, aiding in troubleshooting and diagnostics.
Frequency measurement is particularly useful when analyzing pulse signals from flow meters, encoders, or other devices that output frequency-based data. The ProcessMeter displays the measured frequency in Hertz (Hz), providing a clear and concise representation of the signal’s repetition rate.
To ensure accurate readings, it’s important to select the appropriate input range and consider the signal’s amplitude and duty cycle. Refer to the comprehensive Fluke 789 User Manual (provided on CD-ROM) for detailed instructions on configuring the frequency measurement function and interpreting the results. Proper setup guarantees reliable data for effective process control and maintenance.
Diode Test
The Fluke 789 incorporates a Diode Test function, a valuable tool for assessing the functionality of diodes and other semiconductor devices. This test determines if a diode is open, shorted, or functioning as expected by measuring its forward voltage drop and reverse leakage current.
During a diode test, the ProcessMeter applies a small voltage across the diode and displays the voltage drop. A healthy diode will exhibit a forward voltage drop typically between 0.5V and 0.8V. An open diode will display “OL” (Overload), while a shorted diode will show a very low resistance.
Consult the detailed Fluke 789 User Manual (available on the accompanying CD-ROM) for specific instructions and troubleshooting guidance. Understanding diode behavior and utilizing this test function effectively aids in identifying faulty components within complex circuits, streamlining repair processes and minimizing downtime.

Calibration and Maintenance
Regular calibration, detailed in the September 2002 Calibration Manual (Rev. 2), ensures accuracy. Utilize Supplement Issue 6 (Part Number 1988891) for corrections.
Calibration Overview
Maintaining the accuracy of your Fluke 789 ProcessMeter relies heavily on consistent and proper calibration procedures. The Calibration Manual (September 2002, Rev. 2) serves as the primary guide, outlining the necessary steps and intervals for optimal performance. It’s crucial to understand that calibration isn’t a one-time event; it’s an ongoing process influenced by usage, environmental factors, and time.
Regular calibration verifies that the meter’s measurements align with traceable standards. The manual details how to check and adjust various functions, including DC and AC voltage/current, resistance, and loop power. Supplement Issue 6 (Part Number 1988891) provides vital corrections and updates to the original manual, ensuring you’re following the most current procedures.
Before initiating calibration, familiarize yourself with the meter keys used in the calibration steps, as referenced in the manual. Proper calibration not only guarantees reliable readings but also extends the lifespan of your Fluke 789, safeguarding your investments and ensuring accurate process monitoring.
Restoring Default Password
Occasionally, users may forget the administrative password protecting the Fluke 789 ProcessMeter’s settings. The Calibration Manual (September 2002, Rev. 2) provides a specific procedure for restoring the password to its factory default state. This process is outlined on page 35 of the manual, offering a straightforward solution to regain access to configuration options.
It’s important to note that restoring the default password will erase any custom settings you’ve previously configured. Therefore, if possible, attempt to recall the existing password before proceeding. The restoration process typically involves a specific sequence of key presses and menu navigation, as detailed within the manual’s instructions.
Following the steps carefully is crucial to avoid unintended consequences. Referencing the manual directly ensures accurate execution. Always prioritize security and document any password changes for future reference. This feature safeguards sensitive settings and prevents unauthorized modifications to the meter’s operation.
Calibration Manual Revision History (September 2002, Rev. 2)
The Fluke 789/787B ProcessMeter Calibration Manual underwent revisions to ensure accuracy and clarity. Revision 2, dated September 2002, represents a significant update to the calibration procedures and documentation. This version builds upon previous iterations, incorporating feedback from users and field technicians.
Prior to this revision, the manual was initially released, and subsequent updates addressed identified errors or ambiguities. The Calibration Supplement (Issue 6, Part Number 1988891), dated October 12, 2002, and printed in September 2002, further enhances the manual by providing corrections and additions. This supplement is designed to be used in conjunction with the main calibration manual.
These revisions aim to streamline the calibration process, improve troubleshooting guidance, and maintain the highest standards of measurement accuracy. Fluke Corporation continually strives to refine its documentation, ensuring users have access to the most up-to-date information for optimal performance and reliability of the 789 ProcessMeter.
Using the Calibration Supplement (Issue 6, Part Number 1988891)
Calibration Supplement (Issue 6, Part Number 1988891) is a crucial resource for maintaining the accuracy of your Fluke 789 ProcessMeter. This supplement, released alongside the September 2002, Revision 2 of the Calibration Manual, contains vital corrections and updates not included in the primary documentation.
Users should carefully review this supplement and integrate the provided information directly into their existing calibration manual. The supplement details specific adjustments to procedures, clarifies ambiguous instructions, and addresses potential errors identified after the initial manual publication. Its print date is September 2002, with an issue date of October 12.
Proper utilization of this supplement ensures that calibration processes align with the latest Fluke standards, maximizing the reliability and precision of your 789 ProcessMeter. Ignoring these updates could lead to inaccurate measurements and compromised performance. Always refer to both the main manual and this supplement during calibration procedures.

Troubleshooting
Refer to the safety information before attempting any repairs. Visit www.fluke.com for product registration and additional support resources for common issues.
Common Issues and Solutions
Display Problems: If the display appears dim or shows unusual characters, first check the battery level and ensure a secure connection. A failing battery is a frequent cause. If the issue persists, consult the user manual’s troubleshooting section for display diagnostics.
Measurement Errors: Inaccurate readings often stem from incorrect lead connections or damaged test leads. Verify proper connections and inspect leads for breaks or corrosion. Ensure the correct measurement function is selected for the signal being measured.
HART Communication Failures: When encountering HART communication problems, confirm the proper configuration of the Fluke 789 and the connected device. Check the HART loop resistance and ensure compatibility between devices. Refer to the HART communication section of the manual for detailed guidance.
Calibration Issues: If calibration fails, review the calibration procedure carefully and ensure all necessary equipment is functioning correctly. A corrupted default password may also hinder calibration; the manual details password recovery steps.
For further assistance, visit www.fluke.com for FAQs, support documentation, and contact information.
Safety Information
Electrical Shock Hazard: Always exercise extreme caution when working with electrical circuits. Never exceed the Fluke 789’s specified voltage and current ratings. Disconnect power before making measurements on live circuits whenever possible. Use properly insulated test leads and protective equipment.
Explosive Environments: Do not use the Fluke 789 in environments where explosive gases or vapors are present. The instrument is not intrinsically safe and could ignite flammable substances.
Measurement Category: Understand and adhere to the measurement category ratings (CAT I, CAT II, CAT III) specified in the manual. Using the instrument beyond its rated category can pose a safety risk.
Battery Safety: Follow proper battery handling procedures. Do not disassemble, short-circuit, or expose batteries to extreme temperatures. Dispose of used batteries responsibly according to local regulations.
Read the complete Safety Information section in the 789 Safety Information document before using the product. Register your product at www.fluke.com for important updates and safety notices.
Registering Your Product (www.fluke.com)
Registering your Fluke 789 ProcessMeter at www.fluke.com provides numerous benefits, ensuring you stay informed and receive optimal support. Registration allows Fluke to notify you of important product updates, including firmware enhancements and safety recalls.
By registering, you’ll gain access to exclusive resources, such as downloadable software, application notes, and troubleshooting guides. This ensures you can maximize the performance and lifespan of your instrument. Furthermore, registration validates your warranty, streamlining any potential service requests.
Fluke utilizes registration information to better understand customer needs and improve future product development. It’s a quick and easy process, requiring only basic product details and your contact information. Don’t delay – visit www.fluke.com today to register your Fluke 789 and unlock its full potential!